Wednesday, September 21, 2011

Impromptu Fall Mantel Makeover


So Baby P and I are visiting Grammy and we took a little trip down to the lake over the weekend. It was so much fun and we had nice weather. Can you believe husband W wants to cut off that sweet baby hair? I love how wild and wavy it is and it makes me sad to think of losing it!

While at the lake, I noticed that the mantel looked like this...


Everything else looks super cute, my Mom is good at rounding up cozy, interesting things for the cabin. But this mantel was just so EMPTY! So I started gathering some things from around the house. Books, lamps, placemats, fake ducks (actually there were maybe 5 to choose from), and some goldenrod from outside. There is tons of it blooming right now (Goldenrod is the state flower of KY, BTW).

The things I tried to consider were the many textures already existing (stone chimney and wood mantel) and the high ceilings (meaning lots of exposed chimney). The fish was not optional. Ideally it would be hung a little higher, but I needed help, a drill and a ladder so I left it alone for now.


I really like the chunky, unfinished wood mantel.


This is a neat textured basket that I found, filled with pinecones and walnuts.


The vase is just a plain, clear glass florist's vase. I wrapped a plaid placemat around it and tied it with a little piece of raffia. The chubby, little pumpkins were swiped from my Mom's dining table arrangement.


On the left is an old-fashioned oil lamp converted to an electric light. I put it on a stack of books to try to get some height. I found an old checkerboard that I stood up against the chimney, it helped the lamp and wooden duck stand out a little against the texture of the stone and added some visual interest. There's a small mason jar full of checkers behind the piece of goldenrod. On the right is a big basket of pine cones and walnuts with the vase of goldenrod and little pumpkins. Also on the right are two small, fake oars. I found them floating around the house and I think they were from a canoe shaped coffee table my parents had years and years ago. Again, I was thinking "Height."

 
This is not an elaborate change and it was definately not time consuming. I think it suits the rustic feel of the cabin and it's not overly symmetrical. There are some things I would change or do differently given unlimited supplies and resources, but it's nice to know that you can do a cheap, easy upgrade with what you can find around the house and outdoors. Puts me in the mood for fall and Thanksgiving!

Wednesday, September 7, 2011

No Sewing this week but there has been...

Lots of this: My sore bum can attest to the truth of that fact.


Lots of this. Our clothes are full of sand...not to mention the beach bags, stroller, suitcase, shoes, hair, ears...


Lots of this. It's been a great trip so far!

Friday, September 2, 2011

Pattern Review: McCall's 4756


McCall's 4756
Size CCB (1, 2, 3, 4)
Contains boys shortall, boys overall, girls A-Line top (with or without sleeves), girls pants or capris and optional "chick" applique


Description and My Experience:

I recently made the boy shortall in size 2 and the girl A-line top, also in a size 2. I was very pleased with how the shortall turned out ( I did make a few minor alterations, see "What You Should Know About McCall's 4756). It's simple and relatively easy to put together. Because the straps attach on the inside of the "bib," you can easily add some length to the straps for adjustment later as your child grows. I also really like that there is a long-all option. It makes this pattern season friendly. The crotch is finished with bias tape and the directions indicate using snap tape, but I sewed on my bias tape then applied snaps with a snap setter. (You'll see in the pictures I used leftover white bias strips, I should have made some matching).

The girls top was a little more challenging to sew and I chose a fabric that was a little difficult to work with. Flannel. I like that there a few different finishing options- sleeveless, short sleeved, button choices, applique, pants or capris. It would be easy to add ruffles to the bottom of the pants. I also think if you made the shirt in a heavier fabric like corduroy, it would be very cute for the fall over a turtleneck and leggings. The directions are very clear and make the finishing easy (when you don't skip steps like I might have accidentally).


 The pattern includes directions to top stitch all around the edges of the top. I liked the look of a double line so I also sewed around the bottom hem twice for continuity.


Directions are included for trimming with ric-rac around neck and hem, I used leftover bias tape that I had on hand and added some bright orange stitching.


Things You Should Know About McCall's 4756:

1) Once or twice I looked at a direction and thought, "Ok...and then what?" I would say just read through the whole thing before you start sewing and if you're new to sewing and a step doesn't make sense, bother a friend and have them explain.

2) The cutting guide for the back neck facing on the girls shirt, is the same piece for all sizes. There is the difference of one or two millimeters between each size. It is important that this difference carries over when you cut your fabric. I had to re-cut this piece becaues it was just a millimeter too big and would not lay flat when I turned it to the inside.

3) Use fusible interfacing for the straps if you are sewing with a very lightweight material like seersucker. (Even though the pattern doesn't call for it.) It wouldn't hurt to also use it to reinforce the buttons and button holes.

4) The width of the overalls can be a problem in this pattern. Toddlers are usually moving around more and starting to slim down in the belly and thigh regions :). I made a size 2 for my 15 month old, he is shorter but has a very long torso. The size 2 fit well in crotch length, but it was "unwearably" wide. I ended up taking it in about an inch on each side. I would say try it on your child before sewing up the sides if possible.

5) Stitch in the ditch in the seam under the arms of the boys shortie and overall to keep the lining from pulling out when washing. The bobbin thread will show on the inside, but top thread is totally hidden on the outside.


Here's McCall's 4756, boys shortall, size 2
Blue, white, and lime stretch seersucker (great fabric by the way, it washes so well and doesn't wrinkle), quilter's cotton lining, white 3/4" buttons. All supplies from Hancock's.

Sewed on my Pfaff, love that integrated differential feed!


Plenty of room for the ol' diapered rump!


I recently completed the full length boys overall for fall. It turned out great! I decided to line them fully so that they would be reversible and not to include the snap crotch closure. I also added a turkey applique.


Thursday, September 1, 2011

Freezer Paper Stenciled T-Shirt

I found cute little boy t-shirts for $4.00 at Target this week. The colors are adorable and they don't have a pocket (I like this because there's more you can do with them. The $3.00 Garanimals shirts at Wal-Mart have a pocket that sometimes gets in the way).

My friend Hannah found a really cute, simple T at Carter's for her little boy earlier this summer. It had a navy alligator chomping across the bottom of a bright green shirt. After finding the perfect t-shirt, I started searching the web for simple clip art images that would be easy to cut out of freezer paper.

I found a great website! It's called "Fun Fonix" and the creator has drawn these super cute, simple, black and white pictures for each letter of the alphabet, I'm assuming they're intended for flash cards to help kids learn to read. They are free for personal use-you can right click and copy then resize in a program like Microsoft Word. She did ask that these only be used for personal projects and not saved or sold.

What You Need:
Freezer paper
some kind of design (your own or clip art)
exacto knife
cutting board
foam brush
fabric paint (I like Tulip Matte, Soft Touch)
iron, ironing board


Tape freezer paper (shiny side down) over your design on a cutting board and  start "exacto knifing." With a line drawing like this, just be sure not to cut out the important parts. Here, it would have been really easy to snip off the tooth outline piece.


Here it is fully cut out, you're left with a measly little pile of scraps that does not accurately reflect the amount of work involved in cutting out this design. I'm kidding, it doesn't take too long. The fact that most of the shapes were geometric rather than curved was a big help.


Iron it on, shiny side down! Turn heat to medium and don't use steam, I did that last time and had some "bleedage." Dab on your Tulip Soft Touch fabric paint with a foam brush. Peel off the stencil before the paint dries.


I think the used, painted stencil looks so cool, makes me sad that I can't use it again. After the paint is dry, cover the design with some cotton scrap cloth and iron over your design to 'heat set' the paint.


I'm happy with how  it turned out! I will be raiding the "Fun Fonix" site again for stencils!


With a little pair of madras shorts? And yes, my baby is chewing on an emery board.

Wednesday, August 31, 2011

Travel Toy Sack for Baby P (Pseudo-Tutorial)

We are going on a long car trip in a few weeks and I wanted a small bag that I could hand back to him with a few toys and books in it. He is at the age where he delights in reaching into bags or boxes and pulling things out all by himself. I wanted to stencil his name on it for a little extra cuteness.


I just picked a font (Iskoola Pota again like my beach chairs). Got out the old exacto knife, freezer paper and cutting board. Be sure to save the little half circles from letters like P's and E's. You'll need to iron them onto your fabric too.


I chose a cheery yellow because it matched the madras, but after looking at it I thought, "This looks just like a food logo, which one is it?"


Turned out to be this one. It bothered me a lot. I think the fact that it starts with a P makes it worse. You'll see the letters magically change from yellow to red in the pics below. (I just used a fine paintbrush and went over the  yellow with red)


Size of the backpack is totally up to you. The only things that have to be there are the two loops on each bottom corner and a place to put the drawstring through on top.

I took the easy way and just added about 3.4 or 4 inches to the length of my lining. I sewed button holes in the lining, just below the seam allowance (one on each top side). Then I sewed the right side of the lining to the right side of the sack, leaving a small opening in the bottom of the lining, then flipped the lining into the outer part of the bag through the opening.  Close up the opening. (Shoo...that's a lot of "lining.")

 
Be sure the bottom corners fit into each other (pin the lining to the bottom of the sack if you want) and then pull the extra length out the top of the bag. make sure you have a nice even fold of fabric, pin, top stitch along the seam and edge stitch the very top edge. This creates the casing for your drawstring.


The drawstring goes in one button hole (use a big safety pin) all the way around the bag. Pass your original entrance then out the hole on the other side. Make sure the length makes sense--enough slack to open the top of the bag, but not so much that it's ridiculously long when the top is drawn together. Now tie sturdy knots at each of the loops at the bottom of the bag. I used a nylon rope/shoestring material that I found at Hobby Lobby, $1.99 for 5 yards! There is better stuff out there. I've used a thin, woven cotton rope and I think it feels a little better.


I like the red better, less nutty...

Tuesday, August 30, 2011

Pattern Review: Simplicity3808


Simplicity 3808
Size A: XXS, XS, S, M, L
Contains patterns for girls jumper/dress/shirt with pockets and jersey shorts, boys romper/shortall, bib (with decorative embroidery and applique directions included), and diaper bag.


Description and my Experience:

I really like this pattern, it's my go-to for baby gifts! Two buttons, two button holes, no zippers and simple construction. I've made several girl dresses-in quilters cotton and in a lightweight corduroy. It turned out very well in both cases and looks great with or without pockets. The little jersey shorts are very simple, you could probably find something similar at Target or Wal Mart cheaper than the cost of the fabric.

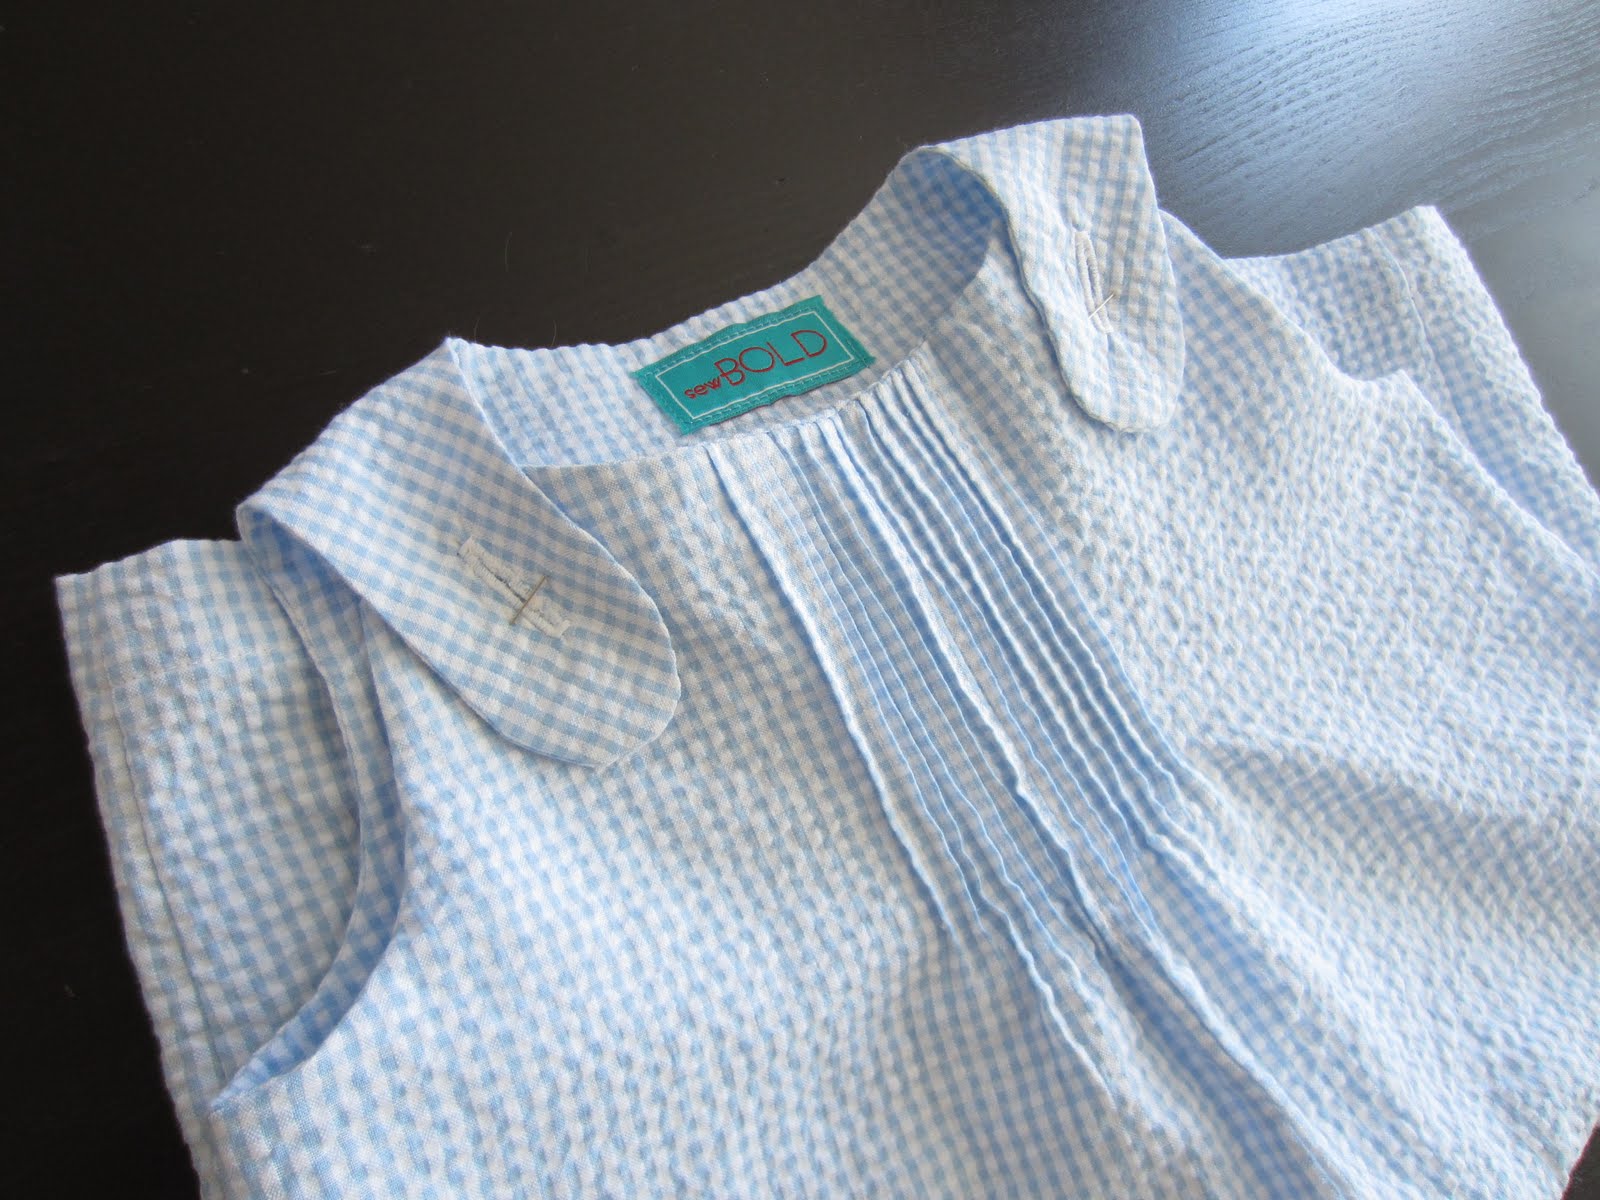
The Simplicity pattern directs you to make a pleated neckline for both the boys shortall and the girls dress. The instructions are extremely clear and easy to follow. I have done a lot of different things with the neckline. You can do a simple gathering stitch (I do this most often for dresses) or add pintucks instead of pleats. For the example below, I used the pleating instructions included, but I accented every fold with a running stitch and thick orange embroidery floss.

My favorite part of this pattern is the boy shortall. It's very simple, and it's easy to make it look professional. I also really like the shape of the neck and straps. There is lots of room for embellishment and it's easy to add a personal touch. For the boy shortie, you can either finish the crotch with snap tape (directions included with the Simplicity pattern) or make small, matching pieces of bias tape and apply snaps with a snap setter. I find that this second option comes out more neatly, but the snap setter is a $22 investment. Still, if you make baby clothes often, it is definately worth it--snap tape adds up and always leaves me cursing and shaking my clenched fist at its inventor.


Here is an example of pin tucks in place of pleats at the neckline. I think this looks a little more "fancy." It would be really sweet in solid white for a tiny baby or a baptism.


Here I made 1 inch bias tape (they're not actually cut on the bias, just strips with the grain), sewed it on, then applied snaps with a snap setter. Those are size 16 snaps, I used 15 on the dark stripe romper.  


Things You Should Know about Simplicity 3808 
1) The sizes run quite large. My 15 month old, who wears 24 month Gerber onesies, wears a medium (12 mo) in this pattern and it's a little on the big side-the large (18 mo) size completely swallowed him. I would call it more of a 24 month. Definately base your sizing choices on the child's measurements rather than age, weights and lengths given on the packet, if possible. For the romper, width can be a problem, consider narrowing a bit on the sides. Try it on your child if possible before finishing side seams and sewing in the lining. If you're making a gift for a newborn, use the XXS, the XS is probably more of a 3-6 month size even though it says 1-3 months on the pattern.

2) The pattern calls for 5/8" buttons. I almost always use 7/8" because I like a prominent button. Small sizes would look fine with smaller buttons. Obviously you would also  need to make your own markings for the button holes, the guide given on the pattern will be 5/8".

3) The pattern doesn't call  for fusible interfacing, but I think the garments turn out a little cleaner looking if you iron a few strips on the inside of your lining where the button holes and buttons will go. I just estimate the placement and iron it on before I sew the lining to the outside. Small scrap pieces are plenty.

4) I always stitch in the ditch under the arms a couple of inches to secure the lining to the outer garment even more securely. It just helps during the washing process.

5) I have not made the bib or tote bag. The directions seem just as clear as those for the garments.


Overall, I rate this pattern five out of five spools! One of my favorites!!


Here it is in action! Simplicity 3808, size Medium, Boy Romper
Black and white stripe seersucker from Joann's, lined with a quilters cotton remnant from Hobby Lobby, orange buttons from Hancock's


You can see he's still got some room in the length and width (I did not take out width, I might for the next one). I like the fall color scheme! Here in NOLA it's sleeveless weather all the way through Halloween.