Showing posts with label Costumes. Show all posts

Thursday, January 31, 2013

Costume Tutorial: Plump Pumpkin

Last Halloween my bigger boy wanted to be a monkey so I snatched up a super cheap costume at Old Navy (they carry a pretty cute assortment every year and they usually go on sale before Halloween, just FYI :). 

I'm all about dressing the babes in things that I know they won't want to wear later and I never like to spend a ton, who knows if they will be awake to wear it...so...the Plump Pumpkin costume was born. It was easy and relatively quick. The wedges take a bit of time, but the 3D texture is totally worth it. This is a good project to do during naptime with a few episodes of Downton Abbey rolling!

Can anyone resist a little, fat baby dressed as a pumpkin?

You Need: 
1 Yard of orange fleece and a few scraps of green (I had some leftover, but add a little extra if you're
      making a larger version, my little guy was wearing about a 3 month size here)
polyfill or scrap batting
snaps (sew on or with a snap setter, you could probably get away with velcro)
matching thread, sewing machine, etc...
*Sleeper, sweatpants, tights or other clothing of your choice to go under the costume. I had a cute orange and black striped sleeper that worked perfectly. What we are making here is sort of a jumper. 

To Make:
1. Build the Foundation
Note: You could skip this step if you have an orange onesie-bought or dyed-that you want to use.


2. Make the wedges
Each wedge is two pattern pieces sewn with right sides together. Leave a small opening to turn right sides out and stuff with polyfill or scrap batting. Then stitch the opening closed. They should look like crazy carrots...

The number and size of the wedges depends on the size of your child and your preferred spacing. I wanted them very close together and the largest two are a little longer than the length from neck to crotch opening.

I used two extra large, four large, four medium and two small wedges. You want to end up with this.


The largest center wedge reaches from the neckline to the crotch opening (one in front and one in back), then they descend in size-the smallest being under each arm. Use the onesie to estimate the length of your wedges, width is up to you. Here they are all laid out so you can get a feel for the variation in size and how many you will need (these are sewn together but not stuffed yet).

After you complete the wedges, pin them in place on your foundation onesie (photo above), adjust as needed and sew them on by hand. I just did a few little hidden stitches at the top and bottom of each wedge. You could get fancy and sew them on in other spots as well or use some fabric glue, it really just depends on how you want them to lay, how active your child is and how finicky you are as a sewist/mama. I didn't mind a little twistage. :)


Fun, simple costume with lots of room to personalize. Link back and leave comments or send pics if you make one! I'd love to see it!


I'll be back this week or next with the hat pattern and tutorial! Gotta love a pumpkin hat!


Thursday, November 1, 2012

Fall


Beware, this is a picture heavy post with all kinds of fall updates! I'm trying to get ya'll filled in with details from my 5 week absence. We are enjoying Baby V, figuring out a new normal and feeling incredibly blessed!

I haven't experienced fall since 2010. In New Orleans, we enjoyed summer and spring-like weather all year long, but I have to say...I missed cool, crisp mornings and that wet, earthy smell you only get once the leaves are lying in piles on the ground. I love all the typical fall activities. Right after V was born, I took P to the apple orchard with some friends. We ate apple cider doughnuts, fed animals, drank cider slushies, slid down a slide on burlap sacks and sat on pumpkins. It was thrilling :). 


I've also had grand ideas of taking pictures of my two boys with some beautiful, fall foliage in the background. I picked a gorgeous, warm day and we tried...I took 30 pictures...this is the "good" one. 


We did get a few belly laughs out of the deal...


The leaves were beautiful at the lake this year, here's P with Papa catching his first fish. His favorite part was pushing the release button and plopping the fish back in the water then reeling it in just to start all over. 


Another iconic (at least in my childhood memory) fall thing we missed last year were woolly worms, P calls them "Squirmies" and collects them in his bike basket. 


And Halloween! Love it, just love it!

P wanted to be a monkey (an "Ooh-Ah-Ah" in his language), I picked up a costume from Old Navy. It was super warm which was perfect for the drizzly, 35 degree, trick-or-treating. V was a pumpkin. Can you get any cuter really? I made this costume and I'm going to be posting a tutorial...which I realize no one will use until next year. Maybe you want a little, baby pumpkin for Thanksgiving though? The hat is certainly fall appropriate by itself.


My Mom and I did some practice trick-or-treating with P before the big night. He went up to a bedroom door, knocked, held out his pumpkin bucket, said "Candy" and then "Thank you!"

Yes, we tried to teach him to say "trick-or-treat" but he's a very literal child. Example: most of the folks handing out candy stood outside on their porches, P walked right past them to knock on the door before backtracking to pick up a treat. I wish I had it on video.


V accompanied us, he stayed snug as a bug in his carseat, wearing his PUMPKIN HAT!!


Can't express to you how much I love this hat, it was very easy! (Tutorial to come) Please make one for Thanksgiving.


On a pumpkin sidenote, you must go to Trader Joe's and buy the Pumpkin Butter ASAP. 

Or STASAP!

"Sooner than as soon as possible." (Gilmore Girls reference for all of you GG fans). 

It is awesome, especially when you toast an english muffin, slather it with butter then add a thin layer of Pumpkin Butter. I like it so much I feel like it should have a nickname...Pum Butt (nope)...PB (already been done)...oh well. 

Wednesday, November 23, 2011

Ho, ho, holiday cheer!!

It is Santa's Workshop around here right now! This is the first year I've ever had to travel over the holidays and losing that extra week or two (a whole week without my sewing machine just after Thanksgiving then a bunch of extra days before Christmas) definately shortens Ms. Santa's Christmas prep time.

I dont' know about you but if I wait until the last minute to do my shopping, it is a free-for-all and I spend waaaayy more than I intended to and more than I would have if I had been organized and done one thing per person/couple and shopped sales.

I also really love to make gifts, but I never know how people are going to feel about handmade gifts. Are they honored or do they feel like "geez, another homemade gift?" Do they ever think people only make handmade gifts as a sort of indirect boast? So much to consider!! I personally love them! I guess I have to figure it out on a case by case basis and just do what I can!

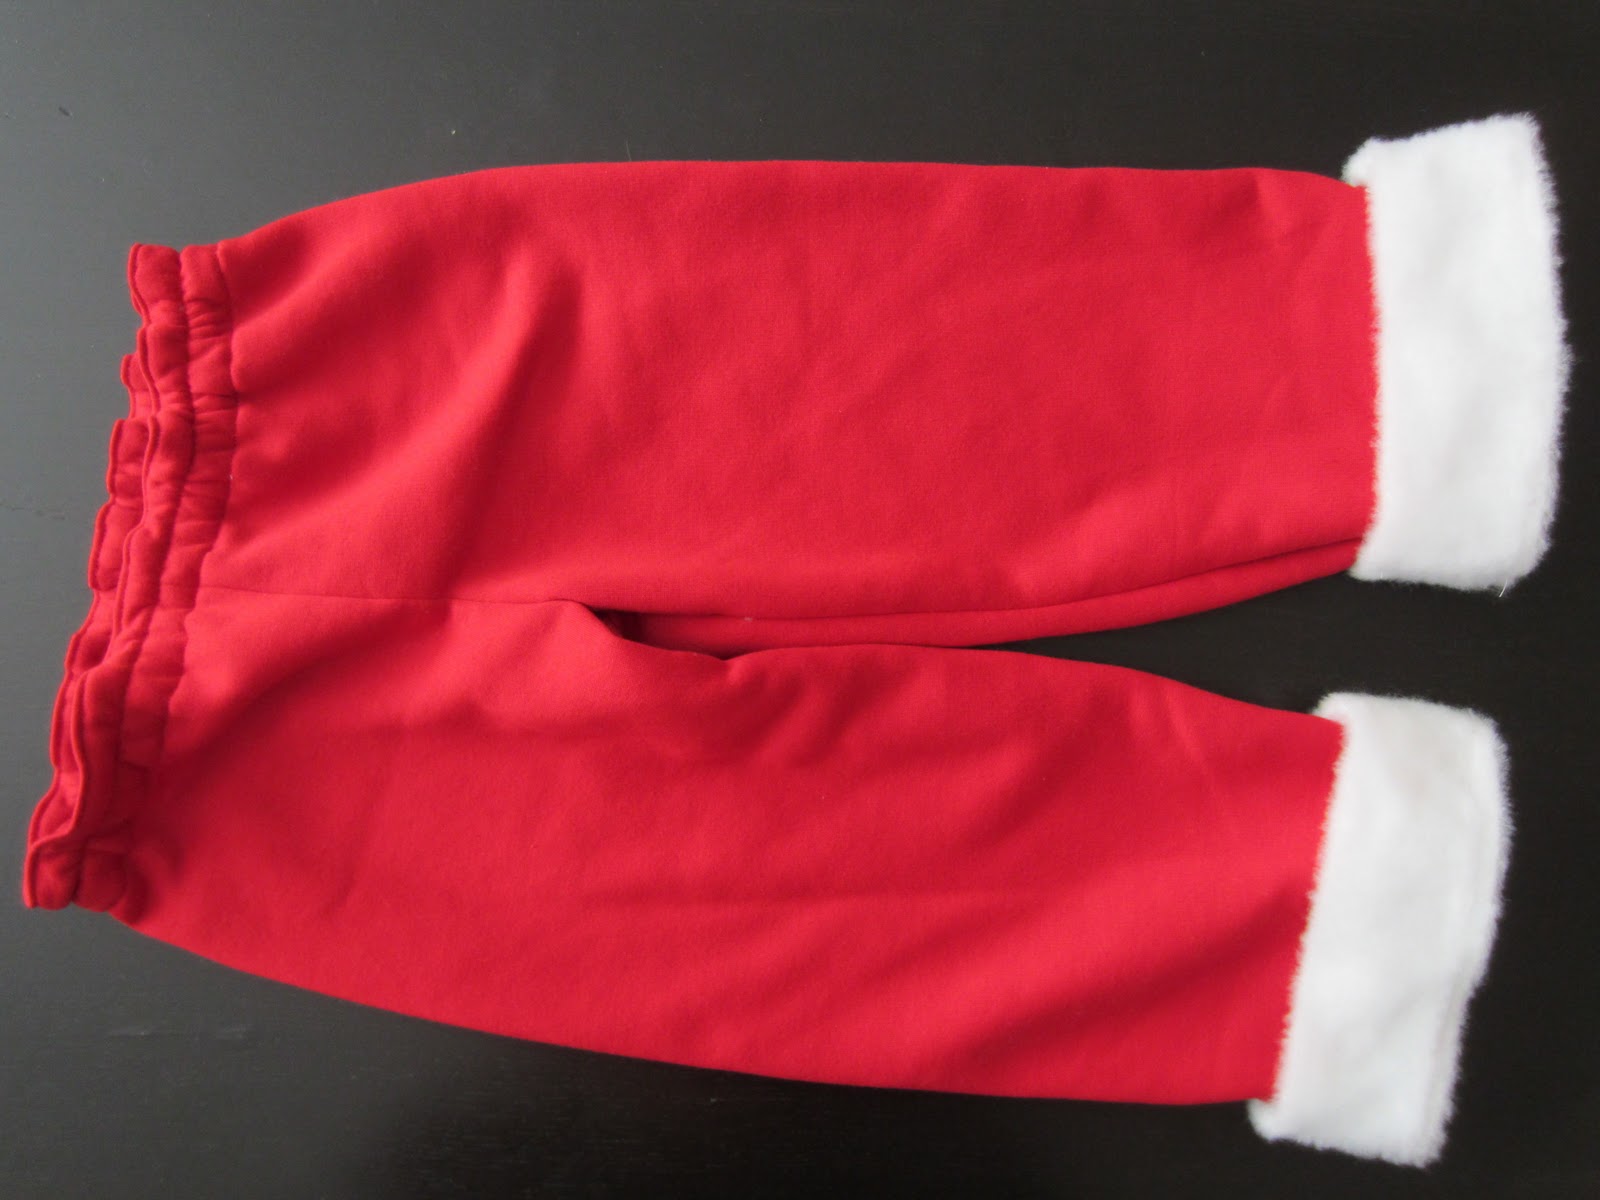
Here is a little Christmas treat I've been working on for my nephew. He requested a Santa suit in a size 5, by Thanksgiving. I'm just kidding about the time deadline, but he did, very sweetly through his Mama, request a Santa outfit in a size 5. Luckily, I had a great pajama pattern that I had just picked up at the Hancock's 99 c pattern sale. (I'll do a separate post on that and give you a little pattern review). It has basic, elastic waist pants and a button down top with a collar. I cut out all the pieces except the collar (the shirt had a self-facing in the front and a little separate facing piece for the back of the neck.). I made this out of a soft, knit (it feels just like sweat suit) because I wanted it to be comfortable and warm and durable. The fur is plush felt. Have you guys discovered this stuff?! It feels so good and soft, but it's synthetic felt and it's $4.99 a yard regularly priced! It doesn't fray and it has lots of body, perfect for costumes. I used it on the cuffs and the peter pan collar. The belt is just black felt with a set of d-rings. I chose 7/8" black/brown buttons for the front.

Pretty quick and easy, although I did break two 90 gauge needles sewing through the many layers of knit and felt and I took the collar off like 3 times because I wasn't happy with the way it closed in the front. I'm one of those sewists who just can't let something go--even if it's only a costume!


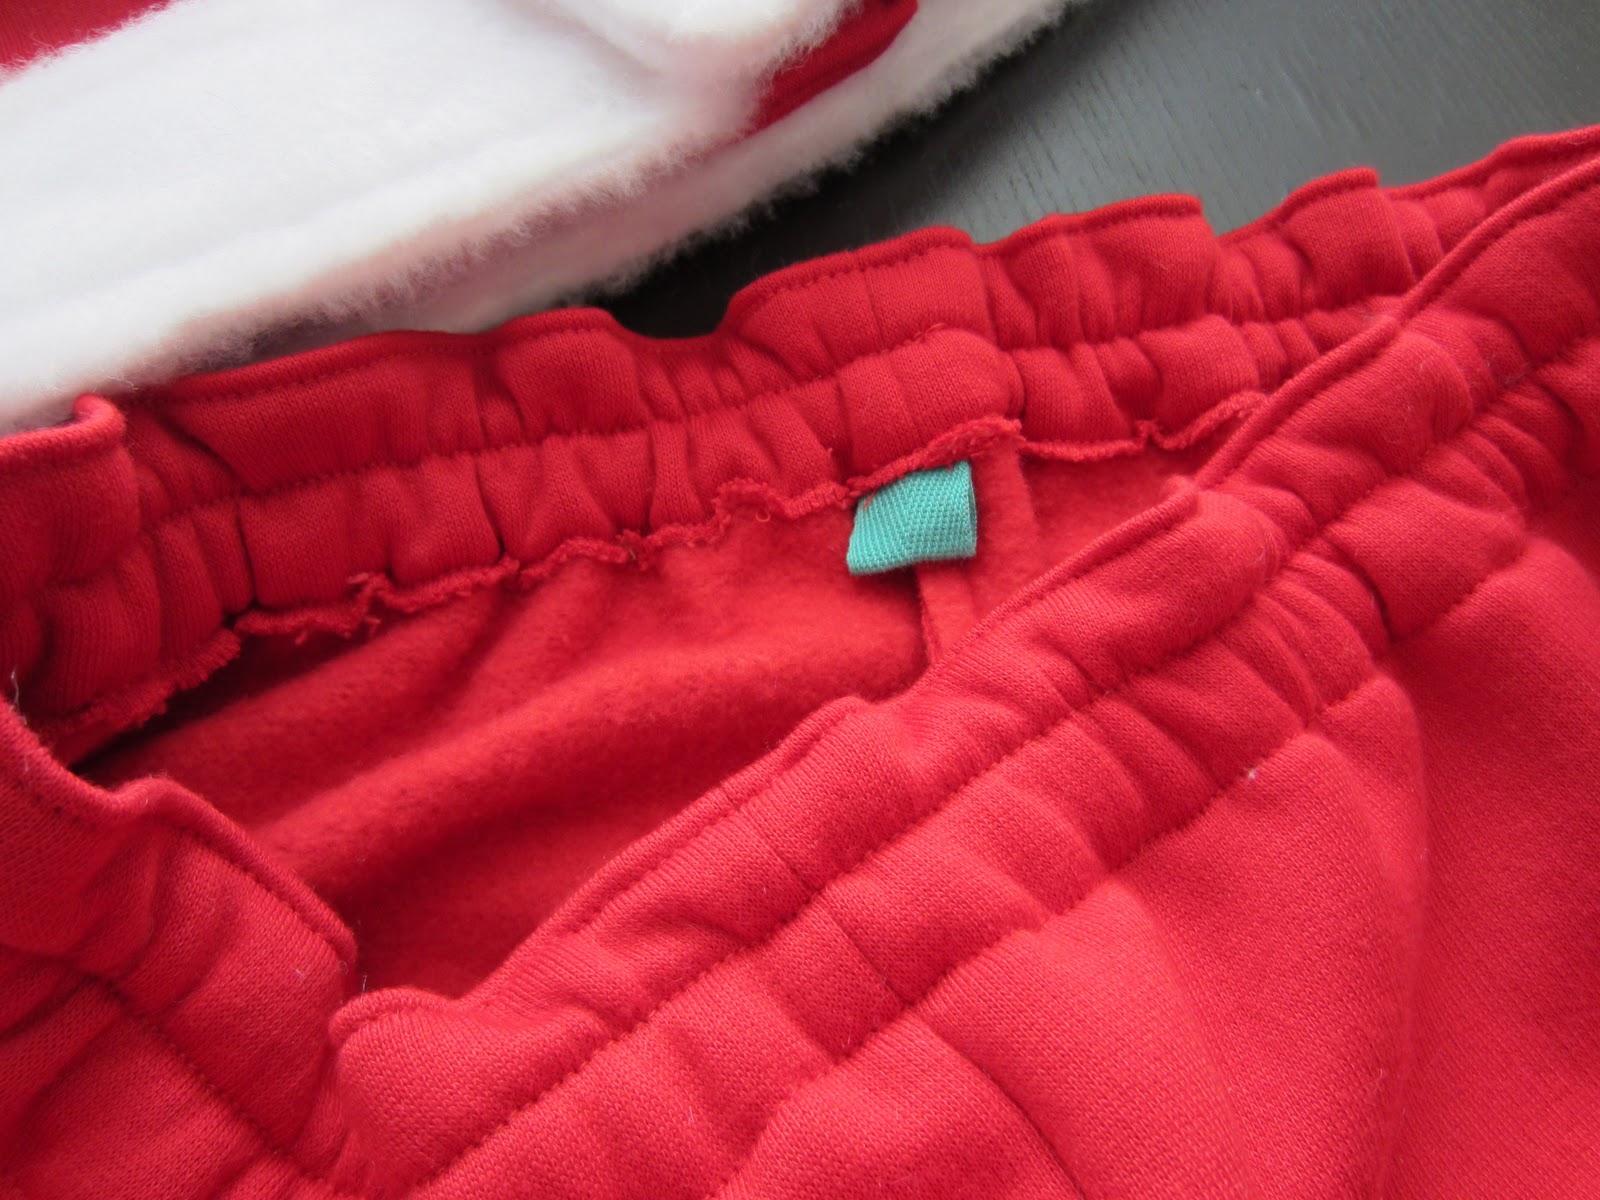
These pants are so simple, just two pattern pieces. I stitched down the middle of the elastic casing after I ran the elastic through to keep the elastic from flipping over.


I put a little twill tape loop in the back of the pants to help my nephew figure out which is which.


Yay for the holiday season! Christmas is coming!!

Anyone else watched White Christmas yet?

No?!

Oh, yeah, me neither...

Monday, October 31, 2011

Happy Halloween!

We had a great weekend! Saturday we took Baby P to the zoo. I think W and I enjoyed it almost more than he did. P is at the age where if an animal isn't moving it's not super exciting. Still, the zoo is at a park and it's a really nice place to walk. It wasn't overly crowded so we could get pretty close to everything.


Whoa there, sheep with horns.


Check out the creepy ape behind us in this picture. He looked us right in the eye, it was odd.


Sunday night we had the Trunk-or-Treat.


This guy is in constant motion, in most of our pictures he's whipping either items or appendages in all directions. We tried to take a few pictures before heading to the church, but grumpy baby + energetic dog = yucky pictures. 


Here's Pieter Pan and Tinker Bell! I think Leo is a little bit embarassed of his get-up. Do you see how W is keeping P's left arm down so he can't rip off my carefully made hat? :)


The struggle continues...


At church, P discovered the Dum-Dum sucker. Every time he finished one, he ran back to the car to get another. Here we even got a little smile, though we are still holding both of his hands! I'm going to get some better pictures today or tomorrow! His costume turned out really sweet and he looked adorable walking around with those chunky little legs in his baby tights. The hat didn't stay on, but it hung down his back and still looked great.

Wednesday, October 26, 2011

Peter Pan Costume and Tutorial


Baby P's costume is ready with five days to go til Halloween! All we need is a sword. This was a pretty simple costume, here are the details!


Materials:

about a yard of green felt (I had a bunch leftover after making a size 18-24 month costume)
several pre-cut squares of felt (for the feathers, I used yellow and red)
about a yard of stretch knit or a pair of baby leggings (you could use an old stretchy t-shirt for this)
a long strip of dark brown fabric, 2.5 " by your desired length (I used corduroy, you could use faux suede, felt, etc...)
1/4 to 1/2 a yard of dark brown fabric for the shoe covers (I used the same corduroy as the belt)
2, 2 inch D-rings
Hot glue gun or quick drying fabric glue

For the Tunic, use an already owned loose-fitting shirt for a template. Add some extra width and length (I wanted mine to be about knee length), and since felt doesn't stretch so you'll need the width to get it on and off.


I traced the shirt then folded the felt in half for cutting so I would have perfectly symmetrical arm holes.


Here you see the back piece with just a slightly scooped neck and a front piece with a scoop and a slit about 4 inches down the middle. Stitch the front and back pieces together at the shoulders.

For the sleeves, use your template shirt, the top of the sleeve is on the fold. Add some extra width and a seam allowance. After putting the shirt on Baby P, he was looking a little too much like Robin Hood so I cut the sleeves off short. You'll see long sleeves in some of the pictures, it's totally up to you, Peter Pan has raggedy short sleeves.


Pin the sleeve pieces to the front and back at the shoulder. Match the center top of the sleeve to the shoulder seam and work outward. Stitch. (Leave the sleeve and sides open!)


Now you will have sort of a poncho type shape, pin at sides and sleeve opening, matching raw edges. Now it's easy to close up the tunic with one long seam, pivoting at the 'armpit.' Do this on both sides.


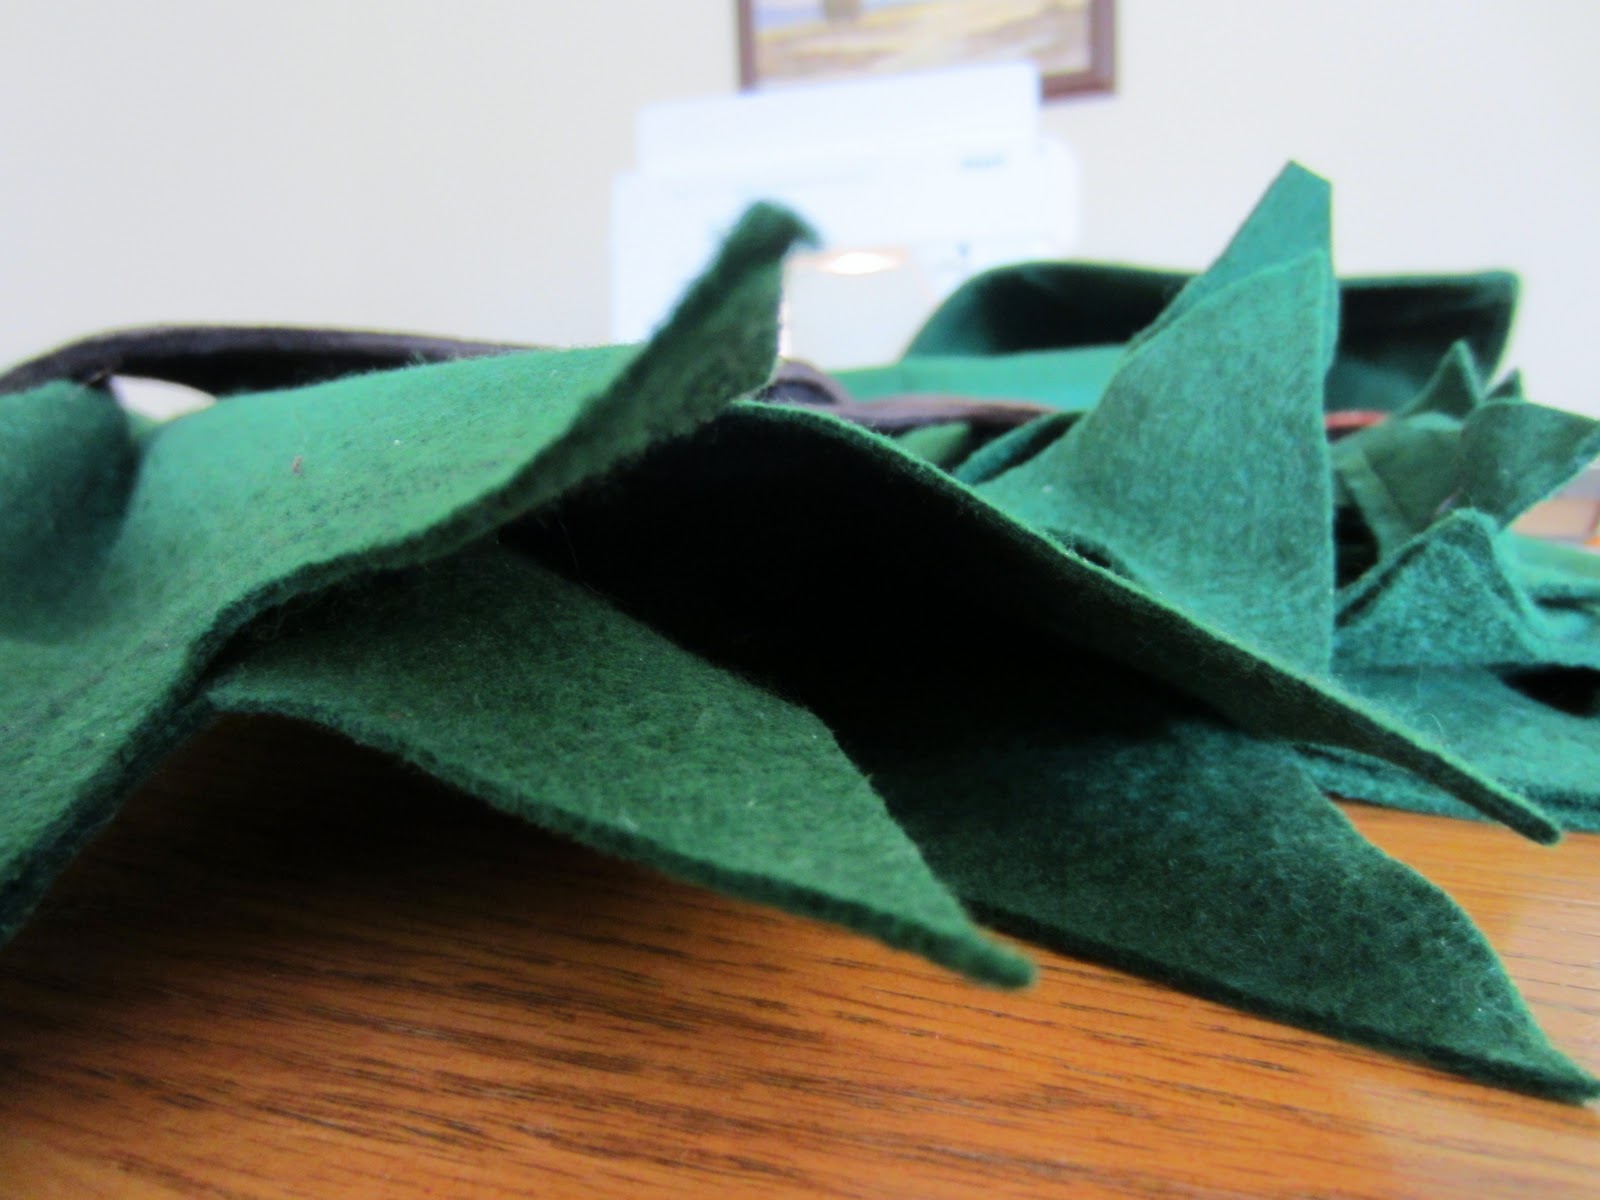
Now take your disappearing ink marker and draw irregular "triangles" around the edge of the sleeves and the bottom of the tunic, cut them out. You can either stop here, or add the Peter Pan collar (Hee hee) like I did.


This is a simple Peter Pan collar. You cut it out in three pieces. The front two pieces are identical, they need to follow the curve of the neckline on the top edge and the slope of the shoulder on the top side edge. The back piece mirrors the curve of the neckline on the top edge and the slope of the shoulders on both top side edges. Stitch the collar together (matching shoulder seams) and then pin the RIGHT side of the collar to the WRONG side of the tunic. Stitch and turn collar to the outside, press and topstitch along the seam.


The Hat!!

Click on the link above to download or print a copy of my hat pattern for personal use only, please. Templates for the feathers are also included. There are some brief instructions on the pattern.


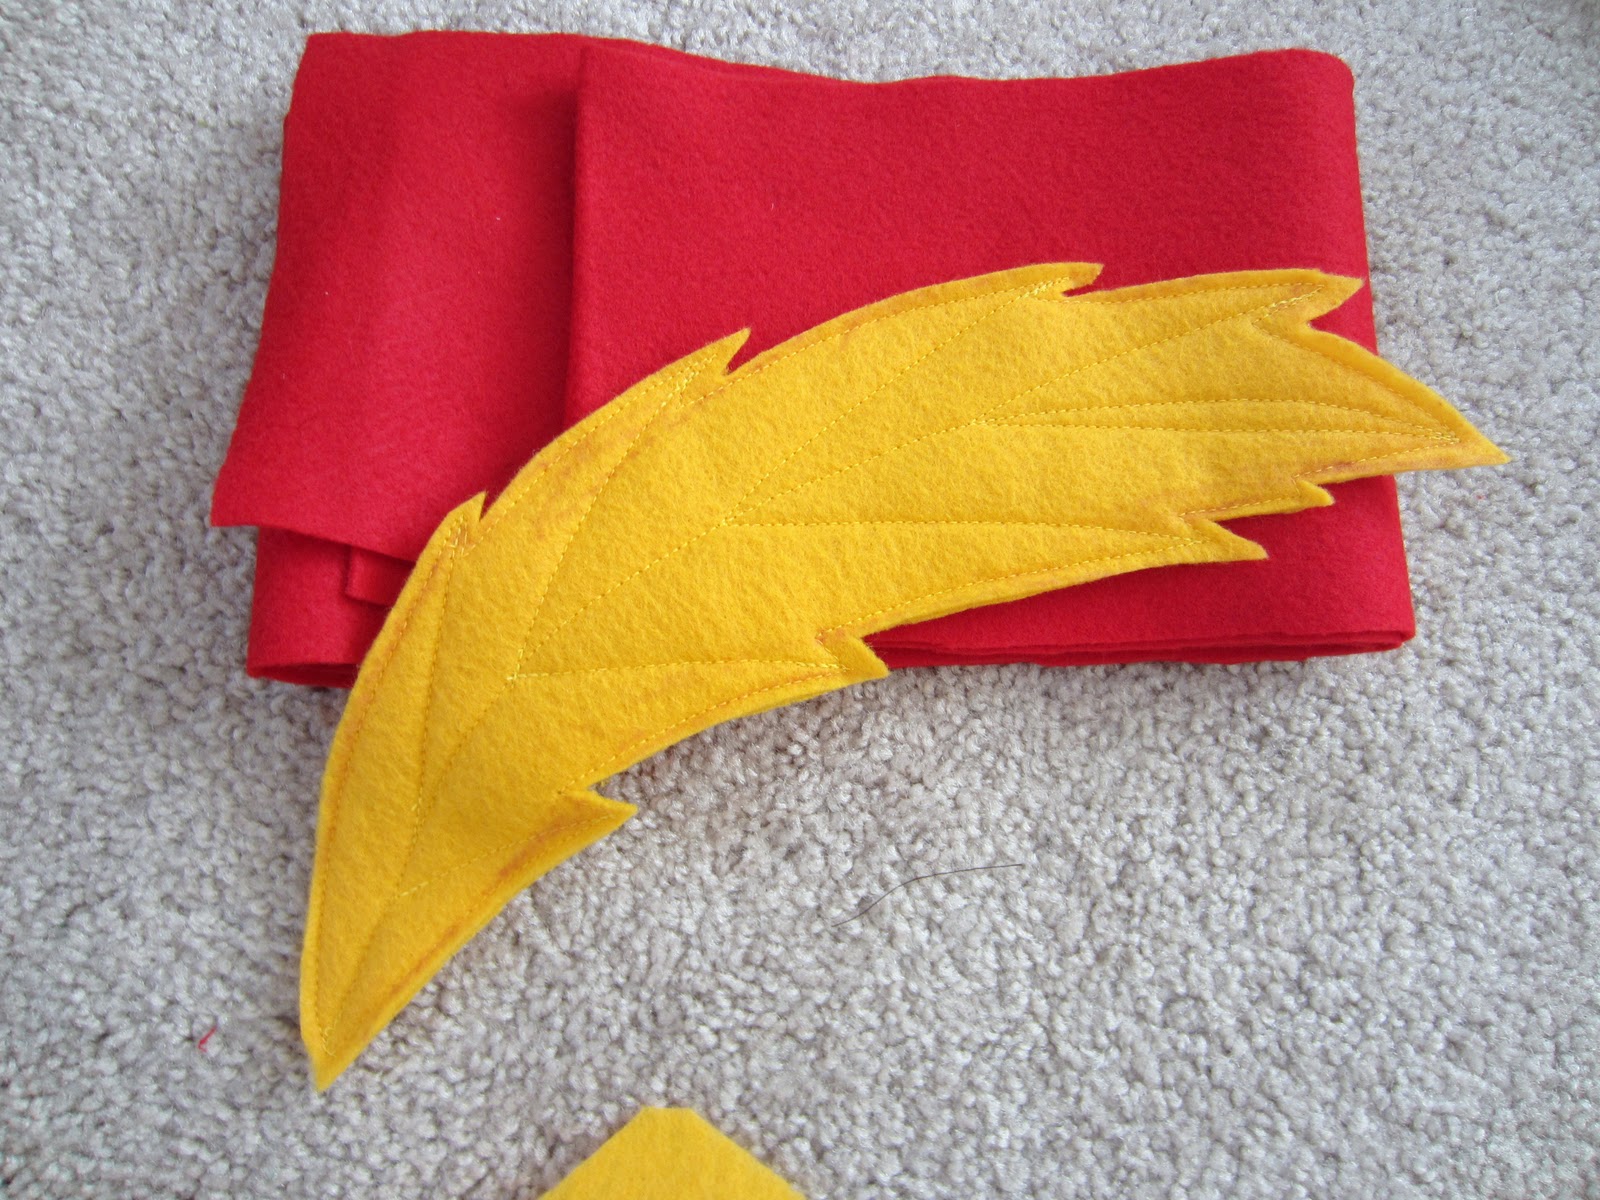
For the feathers, fold one of the sheets of felt in half. With the disappearing marker, sketch out a feather shape. I wanted mine dramatically large and draping in one direction.

Pin the two layers together and cut. Now, stitch up the middle, around the edges and add some curving lines for a feathery appearance.


I stuck with two feathers, but a third in orange would have been cute too. Overlap them artistically and place them where you want, secure with a dab or two of hot glue to keep them in place. I also added a fine elastic string to keep it on Baby P's head!!

Shoe Covers


 Lay your child's shoe on the fabric and trace around it, leaving enough room for seam allowance and for the width of the shoe. I wanted a slightly pointed toe and enough height that I could fold over about 2 inches. You'll need four pieces like this. Choose two and pin them right sides together. Stitch the back from the top back corner to the heel and stop. Now hem the top and bottom edges, I just turned under about 1/4".


Now you will have a piece that looks like this. Fold the top of the shoe cover down, right sides together (how much you fold over is up to you). 


Sew along both side edges and stop. Now you will be able to flip this fold inside out to become the sort of "cuff" of your shoe. Like Peter Pan's. :)


Now pin the shoe right sides together, matching toes and bottom edge, stitch from just insideyour "cuff" to the toe, then down the front to the sole and stop. Be sure to forward and back stitch securely since these will take a bit of a beating. Add an elastic piece underneath the shoe if you think you need it.


The belt was easy peasy. Cut a strip of brown fabric 2.5 inches wide and as long as you need for your child's waist plus some for overlap. Fold the strip in half longways with right sides together, pin, stitch across one end and all the way down the open side. Turn right sides out. Fold in the raw edges of the open end and stitch closed. Edge stitch if you want (this adds a little stability, I sewed around the entire outside and one line down the middle). Take the D-rings and thread one end of the belt through both of them, fold the end over them (only an inch or two) and stitch so that the D-rings are now attached by a small loop to one end of the belt. (you can see this pretty well in the picture) The free end goes through both loops, around one and out through the other. Voila! Belt!


Tights
I referred to Made by Rae's "Baby Tights Tutorial" except I made leggings and added a "baby bum extending panel" like the kind on toddler pajama pants. That is the technical term in case you were wondering. :) This is some bamboo knit I had lying around from a project a couple of years ago. It's a yellowish green color, exactly what I wanted for Peter Pan!!

I had no luck getting this little guy to sit still for a picture. He's on the move and almost ready to go take down Captain Hook!


I think it turned out really cute! This might be the only time I will see my boy's chunky, little legs in tights. Funny and adorable! My favorite parts are the shoe covers and the hat--gotta love pointy toes and gigantic feathers!