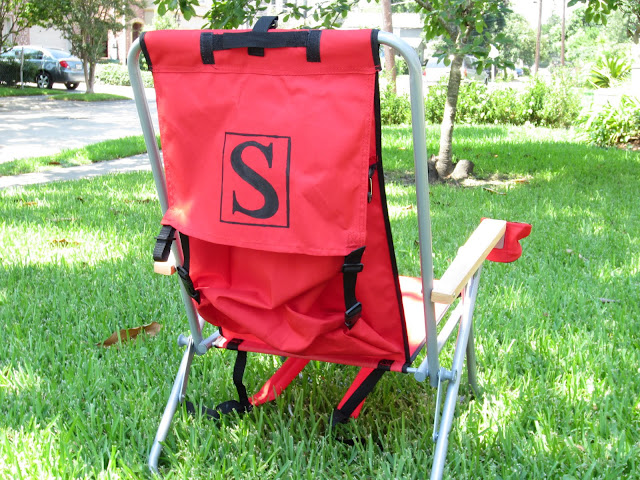
Imagine a beautiful beach and ocean where you see wall and ironing board...
You'll need freezer paper, some kind of drawing (you can print one out or free hand it-this is the Iskoola Pota font in Microsoft Word, size 440), an exacto knife, a cutting board or self-healing mat, fabric paint (I like tulip), foam brush and a small paint brush.
Tape your chosen design to the freezer paper (shiny side should be down), then tape the freezer paper to your cutting surface. You'll need to stabilize all the layers as you cut (taping or using your hands).
Measure your chosen area to help center your design. I used a couple of pins to keep my place as I transferred the whole chair to the ironing board...
I ended up having to fold the ironing board flat and kneel on the floor to deal deal with the awkward chair while I tried to iron. Always use a cover cloth when ironing on something synthetic like nylon. I had to give up on the border piece because it lost its "stickiness." Instead I used strips of scotch tape to create the border.
Try to make sure there aren't gaps between the stencil and the fabric, it was particularly difficult on this slick fabric.
Here's the stencil with tape border after painting.
The tape came off really cleanly, but you can see there are some blobs where my freezer paper stencil pulled away a bit.
Yuck, blobs... so I whipped out a little more fabric paint and a small, detail brush.
Much better, remember that when free-hand painting, less is usually more. Don't get carried away or you might end up with more painted area than you originally wanted.
I like it! It was a pretty easy upgrade. Here's my second attempt. It came out with no blobs and I
decided not to do the border.


No comments:
Post a Comment