Wednesday, August 31, 2011

Travel Toy Sack for Baby P (Pseudo-Tutorial)

We are going on a long car trip in a few weeks and I wanted a small bag that I could hand back to him with a few toys and books in it. He is at the age where he delights in reaching into bags or boxes and pulling things out all by himself. I wanted to stencil his name on it for a little extra cuteness.


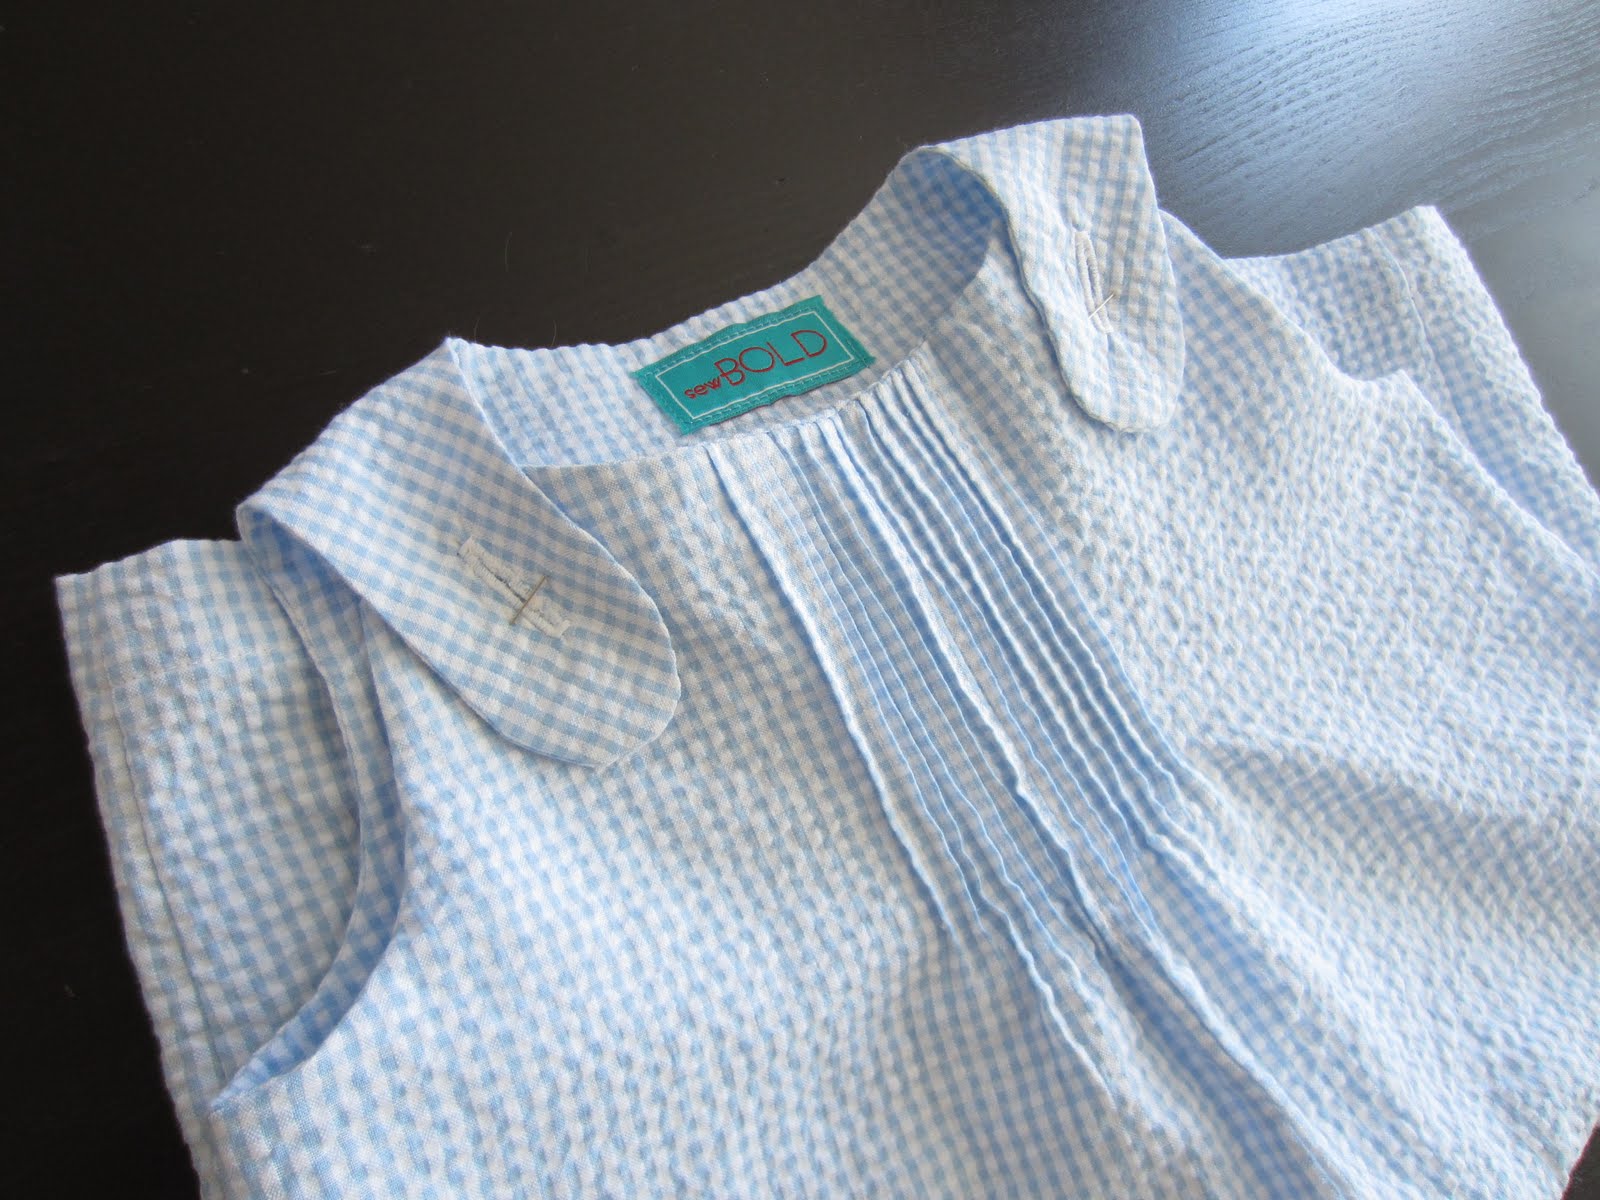
I just picked a font (Iskoola Pota again like my beach chairs). Got out the old exacto knife, freezer paper and cutting board. Be sure to save the little half circles from letters like P's and E's. You'll need to iron them onto your fabric too.


I chose a cheery yellow because it matched the madras, but after looking at it I thought, "This looks just like a food logo, which one is it?"


Turned out to be this one. It bothered me a lot. I think the fact that it starts with a P makes it worse. You'll see the letters magically change from yellow to red in the pics below. (I just used a fine paintbrush and went over the  yellow with red)


Size of the backpack is totally up to you. The only things that have to be there are the two loops on each bottom corner and a place to put the drawstring through on top.

I took the easy way and just added about 3.4 or 4 inches to the length of my lining. I sewed button holes in the lining, just below the seam allowance (one on each top side). Then I sewed the right side of the lining to the right side of the sack, leaving a small opening in the bottom of the lining, then flipped the lining into the outer part of the bag through the opening.  Close up the opening. (Shoo...that's a lot of "lining.")

 
Be sure the bottom corners fit into each other (pin the lining to the bottom of the sack if you want) and then pull the extra length out the top of the bag. make sure you have a nice even fold of fabric, pin, top stitch along the seam and edge stitch the very top edge. This creates the casing for your drawstring.


The drawstring goes in one button hole (use a big safety pin) all the way around the bag. Pass your original entrance then out the hole on the other side. Make sure the length makes sense--enough slack to open the top of the bag, but not so much that it's ridiculously long when the top is drawn together. Now tie sturdy knots at each of the loops at the bottom of the bag. I used a nylon rope/shoestring material that I found at Hobby Lobby, $1.99 for 5 yards! There is better stuff out there. I've used a thin, woven cotton rope and I think it feels a little better.


I like the red better, less nutty...

Tuesday, August 30, 2011

Pattern Review: Simplicity3808


Simplicity 3808
Size A: XXS, XS, S, M, L
Contains patterns for girls jumper/dress/shirt with pockets and jersey shorts, boys romper/shortall, bib (with decorative embroidery and applique directions included), and diaper bag.


Description and my Experience:

I really like this pattern, it's my go-to for baby gifts! Two buttons, two button holes, no zippers and simple construction. I've made several girl dresses-in quilters cotton and in a lightweight corduroy. It turned out very well in both cases and looks great with or without pockets. The little jersey shorts are very simple, you could probably find something similar at Target or Wal Mart cheaper than the cost of the fabric.

The Simplicity pattern directs you to make a pleated neckline for both the boys shortall and the girls dress. The instructions are extremely clear and easy to follow. I have done a lot of different things with the neckline. You can do a simple gathering stitch (I do this most often for dresses) or add pintucks instead of pleats. For the example below, I used the pleating instructions included, but I accented every fold with a running stitch and thick orange embroidery floss.

My favorite part of this pattern is the boy shortall. It's very simple, and it's easy to make it look professional. I also really like the shape of the neck and straps. There is lots of room for embellishment and it's easy to add a personal touch. For the boy shortie, you can either finish the crotch with snap tape (directions included with the Simplicity pattern) or make small, matching pieces of bias tape and apply snaps with a snap setter. I find that this second option comes out more neatly, but the snap setter is a $22 investment. Still, if you make baby clothes often, it is definately worth it--snap tape adds up and always leaves me cursing and shaking my clenched fist at its inventor.


Here is an example of pin tucks in place of pleats at the neckline. I think this looks a little more "fancy." It would be really sweet in solid white for a tiny baby or a baptism.


Here I made 1 inch bias tape (they're not actually cut on the bias, just strips with the grain), sewed it on, then applied snaps with a snap setter. Those are size 16 snaps, I used 15 on the dark stripe romper.  


Things You Should Know about Simplicity 3808 
1) The sizes run quite large. My 15 month old, who wears 24 month Gerber onesies, wears a medium (12 mo) in this pattern and it's a little on the big side-the large (18 mo) size completely swallowed him. I would call it more of a 24 month. Definately base your sizing choices on the child's measurements rather than age, weights and lengths given on the packet, if possible. For the romper, width can be a problem, consider narrowing a bit on the sides. Try it on your child if possible before finishing side seams and sewing in the lining. If you're making a gift for a newborn, use the XXS, the XS is probably more of a 3-6 month size even though it says 1-3 months on the pattern.

2) The pattern calls for 5/8" buttons. I almost always use 7/8" because I like a prominent button. Small sizes would look fine with smaller buttons. Obviously you would also  need to make your own markings for the button holes, the guide given on the pattern will be 5/8".

3) The pattern doesn't call  for fusible interfacing, but I think the garments turn out a little cleaner looking if you iron a few strips on the inside of your lining where the button holes and buttons will go. I just estimate the placement and iron it on before I sew the lining to the outside. Small scrap pieces are plenty.

4) I always stitch in the ditch under the arms a couple of inches to secure the lining to the outer garment even more securely. It just helps during the washing process.

5) I have not made the bib or tote bag. The directions seem just as clear as those for the garments.


Overall, I rate this pattern five out of five spools! One of my favorites!!


Here it is in action! Simplicity 3808, size Medium, Boy Romper
Black and white stripe seersucker from Joann's, lined with a quilters cotton remnant from Hobby Lobby, orange buttons from Hancock's


You can see he's still got some room in the length and width (I did not take out width, I might for the next one). I like the fall color scheme! Here in NOLA it's sleeveless weather all the way through Halloween.


Monday, August 29, 2011

Fabric Covered Cuff Links Tutorial

I am a terrible gift-giver. Especially when it comes to brothers, fathers and husbands--well, just the one husband. I think men are really hard to buy gifts for. I think it's because there just aren't that many mid-price gift options for them. The things they really would like--sports gear, technology--are too expensive for birthdays. My brother's birthday is this week, he's a snazzy dresser, so I thought I'd give hand-made cuff links a try!

I knew I wanted a pair of plain, flat cuff links. I checked Michaels, but they only had square shaped links in the bead craft area. They were also kind of bulky. I  suddenly had a brainstorm and called Stein Mart (they have everything) and bingo! Plain, flat cuff links for $9.99. Yes, it would have been nice to find them for $3.00, but I didn't have to buy anything else for this project.

Here's what you'll need:
a pair of plain, round cuff links
a few inches of fabric (scraps are usually fine)
needle
thread (regular sewing thread and embroidery floss)
water or air soluble fabric marker
No Fray
clear Elmers glue


I raided my scrap bag and chose a few different patterns, I decided to go with the madras. The red seersucker looked a little like pink from a distance and the blue was reading: "Baby." Trace your links on the fabric then cut circles about a half inch larger than the actual size. Cut circles of iron on interfacing the same size as your links and iron them to the fabric rounds.


What you're actually making is a tiny fabric yo-yo that will cover the link. Fold the edges in a tiny bit (about 1/8 of an inch or less), just enough so that you can stitch without unraveling your edges. Knot your thread and make a running stitch all the way around the edges of the circle. Now, when you begin to gather the yo-yo, the edges will magically turn to the inside, leaving you with a nice clean edge.


Begin to gather the yo-yo.


Put the fabric around one of the cufflinks and finish gather. If you are stopping here (not embroidering initials) then you can skip on down to the "tying off" steps. Otherwise, leave the thread long and don't knot it off yet. You'll need the extra length later.


If you want to embroider initials, now is the time to draw them onto the fabric with a fabric marker (water or air soluble).


Take the fabric yo-yo's back off the links and get ready to embroider. I used a back stitch here. Knot your embroidery floss (I used 2 strands so it would look crisp), make a stitch on the right side of your fabric. When you bring the thread back up from the wrong side, stitch slightly ahead of the finished stitch. Now make your second stitch on the right side, back through the end of the first stitch.


Finish up the initials. Dab a tiny bit of clear Elmer's glue on top of the link. This will keep it from slipping around too much and after it dries will keep the initial centered. Now, gather the yo-yo around your cuff link. I usually sew through a couple of "ridges" just to help secure the thread (hiding it as I go). I used a French Knot to make a large knot on the inside of the yo-yo. Wrap the thread around your needle several times (the more times, the larger the knot), pull the thread so that the "wraps" are as close to the fabric as possble then push the needle through fabric from the inside to the outside of the yo-yo. (Be sure to keep the wraps around the needle through this proces) Pull tight then snip off the thread close to fabric on the outside-the end will disappear into the yo-yo.


Look for any raveling edges and tuck them under, I dabbed on a little No Fray and a little glue to keep things in place.


Ta-daaa!


Thursday, August 25, 2011

Stitchin'

I finally got around to trying a couple of the ideas from Doodle Stitching by Aimee Ray that I posted about HERE. It's such an adorable book! I decided to start out with some simple tea or guest towels. I found a heavy weight 100% cotton that was perfect for my project at Hancocks, on sale at 40% off! It's absorbent and the weave is nice for embroidery, you could count threads if you were a perfectionist like that. Unfortunately this does not describe me, but...

I'm really excited with how the first two attempts turned out! I used designs from Aimee's book that I drew out freehand, changing some of the colors based on the embroidery floss that I already had in stock.


The towels measure 15" by about 25". I turned the edges under twice and mitered the corners before hemming. See my blanket tutorial for instructions on how to miter corners.

Can't wait to embellish on the fresh pack of white baby onesies that I picked up yesterday!

Monday, August 22, 2011

Scrap Busting Picnic Blanket and Tutorial


I have a problem.

I overbuy fabric.

I see some I like, I have an idea, I buy more than I end up using. I am addicted to patterns and bright colors...


These are leftover pieces that are too small for most apparel sewing projects. They're still decently sized though and in patterns that I love! So, to bust my stash of scraps and gain a picnic blanket in the process, I started squaring (or rectangling) up all my chosen scraps. I chose a color scheme of teal and red polka dots with a little yellow and orange thrown in.

You will need:

1.5 yards of backing fabric,  I used a sturdy, unbleached muslin (this size is optional, it would need to be bigger for a larger family)

the equivalent of about 1.5 yards of scraps

Matching or contrast thread


I spread the muslin out on the floor to use as my template then began laying my squares and rectangles out on it like puzzle pieces (leaving about a 2 inch border of muslin around the edges so I could use that for binding later). As you're doing this step, overlap all your edges about 1/4 or 1/2 an inch to allow for seams. BTW, nap time is the best time for this step, babies crawling over your carefully laid out puzzle pieces does not improve the process. 


Here is the top of my blanket all laid out, but not sewn together yet. It's a good idea to sew last because you can rearrange pieces and add more of one color or another so that it looks varied enough. The red dot was the only fabric I used that wasn't a scrap, that was nice because I had plenty and in any size that I wanted so I could fill in gaps.

A couple of suggestions for this part:


This section was a snap to put together. The strips are lined up really evenly so it was super easy to stitch them together. The blocks went together from left to right first then I sewed the rows to each other.


The way these blocks are lined up made it harder to sew together. It takes a little "finagling," but it's possible and it can look really interesting when it's all done.


Some sewists press all their seams open, I don't do this because I don't like to backstitch as I piece. I press all the seams to one side or the other. Be sure as you're going that you stitch your seams in the same direction (see above). This will make more sense once you get sewing.

Otherwise you will have...


This leaves bumpy places on the front of your blanket after its quilted. Pressing helps a lot, but it's ideal if you don't let it happen.


After piecing, press your blanket top flat and even up the edges. Center it on the muslin and leave about an inch and a half sticking out on all edges.


Now start pinning, the more pins, the easier the quilting step. I rolled the blanket up as I went and kept it rolled as I stitched.


The quilting pattern is up to you. I simply stitched across the width of the blanket about every 1 1/2 inches. A walking foot and a stitching guide will make this step easier. Be sure to backstitch at the beginning and end of every row, the ends will be exposed on the back of your blanket.  


Press the edges of the muslin under 1/4  inch then fold the corners over and press.


Next, fold the edges of the muslin over the blanket top, press and pin. Match up folds at the corners, press and pin those as well


Now stitch all the way around the blanket, close to the inside edge. That's it! Easy, probably a four hour project. I love the way it turned out!


I really like the heavy, textured muslin on the back, I think it will stand up to the ground and to a little moisture really well. It looks a lot like linen to me, but is so much easier to take care of and it's only $2.50 a yard, which makes me want to use it for lots of projects.