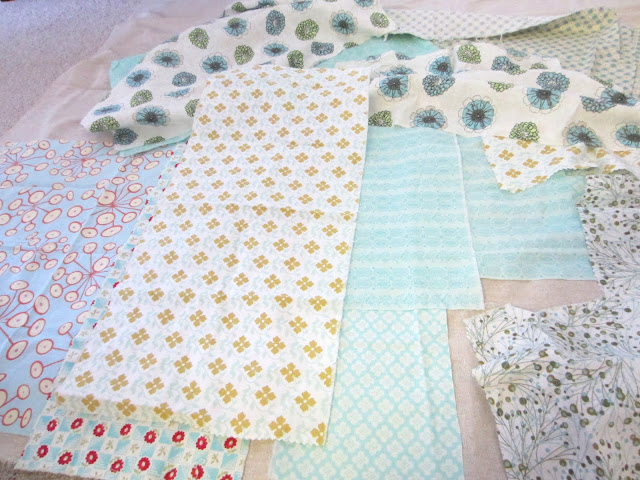
I have a problem.
I overbuy fabric.
I see some I like, I have an idea, I buy more than I end up using. I am addicted to patterns and bright colors...
You will need:
1.5 yards of backing fabric, I used a sturdy, unbleached muslin (this size is optional, it would need to be bigger for a larger family)
the equivalent of about 1.5 yards of scraps
Matching or contrast thread
I spread the muslin out on the floor to use as my template then began laying my squares and rectangles out on it like puzzle pieces (leaving about a 2 inch border of muslin around the edges so I could use that for binding later). As you're doing this step, overlap all your edges about 1/4 or 1/2 an inch to allow for seams. BTW, nap time is the best time for this step, babies crawling over your carefully laid out puzzle pieces does not improve the process.
Here is the top of my blanket all laid out, but not sewn together yet. It's a good idea to sew last because you can rearrange pieces and add more of one color or another so that it looks varied enough. The red dot was the only fabric I used that wasn't a scrap, that was nice because I had plenty and in any size that I wanted so I could fill in gaps.
A couple of suggestions for this part:
The way these blocks are lined up made it harder to sew together. It takes a little "finagling," but it's possible and it can look really interesting when it's all done.
Some sewists press all their seams open, I don't do this because I don't like to backstitch as I piece. I press all the seams to one side or the other. Be sure as you're going that you stitch your seams in the same direction (see above). This will make more sense once you get sewing.
Otherwise you will have...
This leaves bumpy places on the front of your blanket after its quilted. Pressing helps a lot, but it's ideal if you don't let it happen.
After piecing, press your blanket top flat and even up the edges. Center it on the muslin and leave about an inch and a half sticking out on all edges.
Now start pinning, the more pins, the easier the quilting step. I rolled the blanket up as I went and kept it rolled as I stitched.
The quilting pattern is up to you. I simply stitched across the width of the blanket about every 1 1/2 inches. A walking foot and a stitching guide will make this step easier. Be sure to backstitch at the beginning and end of every row, the ends will be exposed on the back of your blanket.
Press the edges of the muslin under 1/4 inch then fold the corners over and press.
Next, fold the edges of the muslin over the blanket top, press and pin. Match up folds at the corners, press and pin those as well
Now stitch all the way around the blanket, close to the inside edge. That's it! Easy, probably a four hour project. I love the way it turned out!


Soo cool! I <3 it!
ReplyDelete