


Baby P's costume is ready with five days to go til Halloween! All we need is a sword. This was a pretty simple costume, here are the details!
Materials:
about a yard of green felt (I had a bunch leftover after making a size 18-24 month costume)
several pre-cut squares of felt (for the feathers, I used yellow and red)
about a yard of stretch knit or a pair of baby leggings (you could use an old stretchy t-shirt for this)
a long strip of dark brown fabric, 2.5 " by your desired length (I used corduroy, you could use faux suede, felt, etc...)
1/4 to 1/2 a yard of dark brown fabric for the shoe covers (I used the same corduroy as the belt)
2, 2 inch D-rings
Hot glue gun or quick drying fabric glue
For the Tunic, use an already owned loose-fitting shirt for a template. Add some extra width and length (I wanted mine to be about knee length), and since felt doesn't stretch so you'll need the width to get it on and off.

I traced the shirt then folded the felt in half for cutting so I would have perfectly symmetrical arm holes.

Here you see the back piece with just a slightly scooped neck and a front piece with a scoop and a slit about 4 inches down the middle. Stitch the front and back pieces together at the shoulders.

For the sleeves, use your template shirt, the top of the sleeve is on the fold. Add some extra width and a seam allowance. After putting the shirt on Baby P, he was looking a little too much like Robin Hood so I cut the sleeves off short. You'll see long sleeves in some of the pictures, it's totally up to you, Peter Pan has raggedy short sleeves.

Pin the sleeve pieces to the front and back at the shoulder. Match the center top of the sleeve to the shoulder seam and work outward. Stitch. (Leave the sleeve and sides open!)


Now you will have sort of a poncho type shape, pin at sides and sleeve opening, matching raw edges. Now it's easy to close up the tunic with one long seam, pivoting at the 'armpit.' Do this on both sides.


The Hat!!
Click on the link above to download or print a copy of my hat pattern for personal use only, please. Templates for the feathers are also included. There are some brief instructions on the pattern.

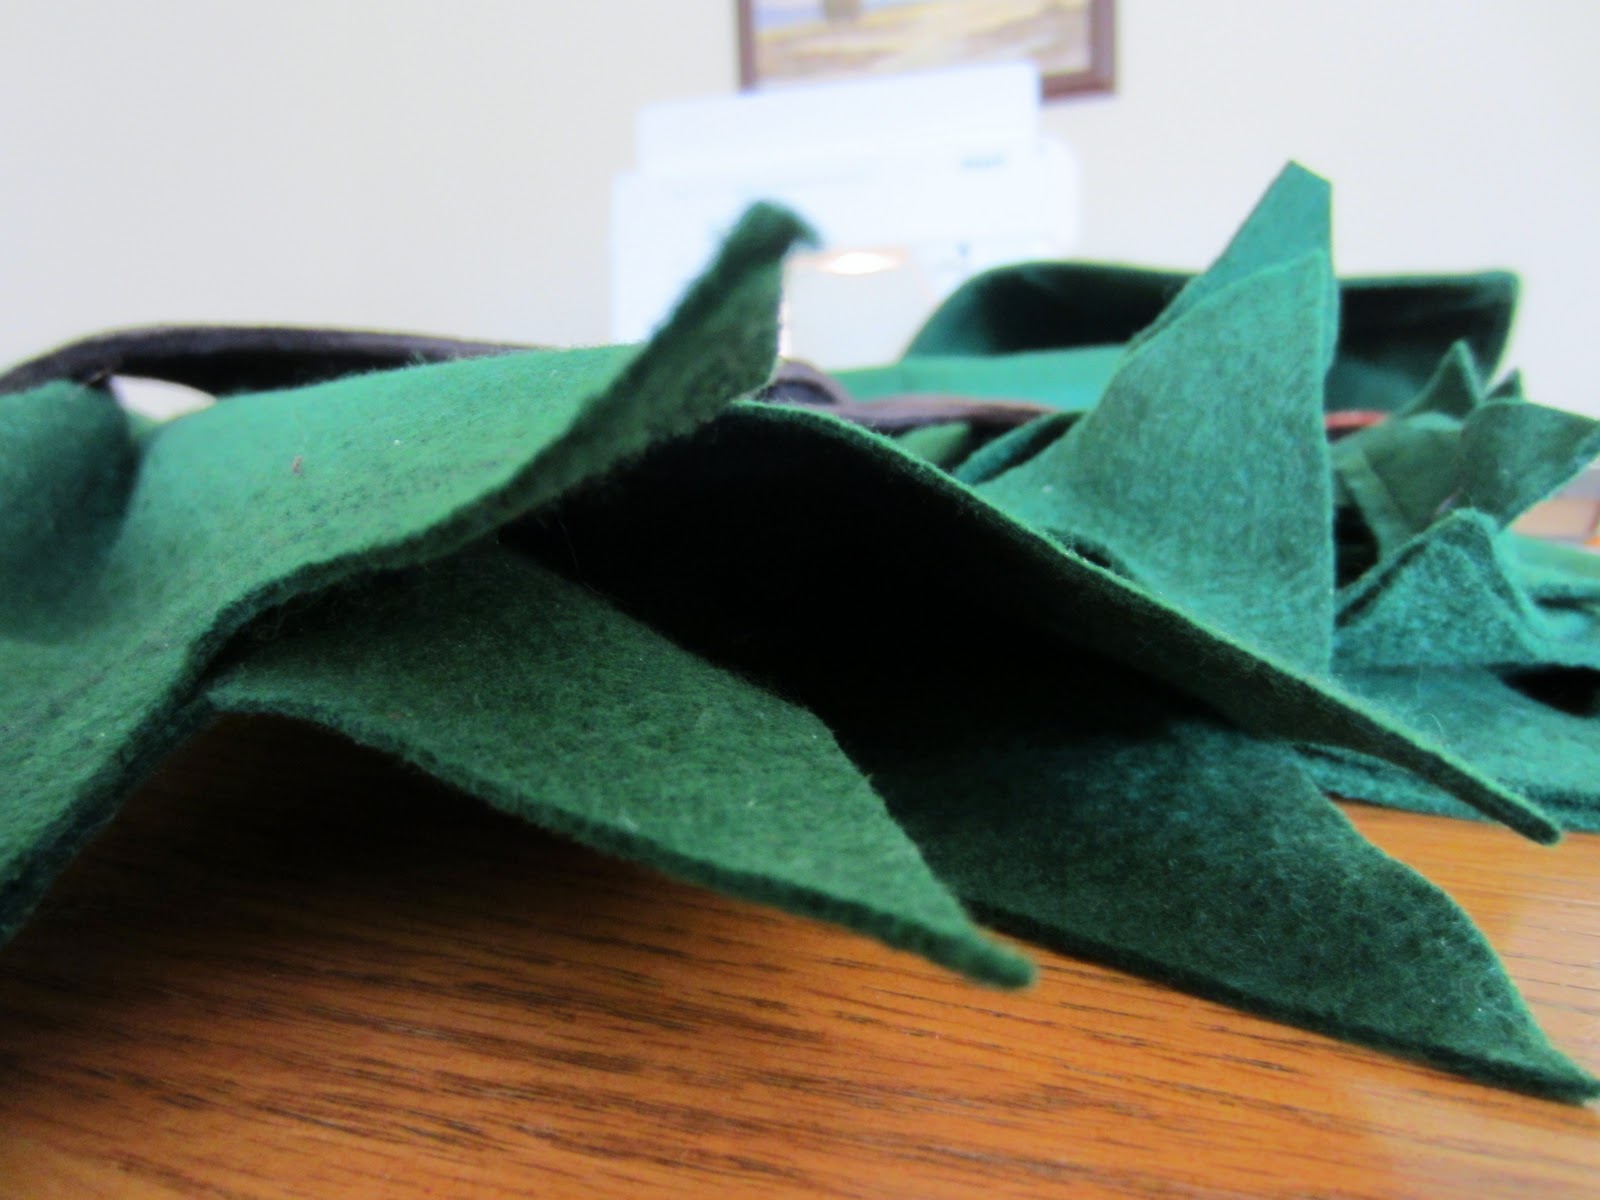
For the feathers, fold one of the sheets of felt in half. With the disappearing marker, sketch out a feather shape. I wanted mine dramatically large and draping in one direction.

Pin the two layers together and cut. Now, stitch up the middle, around the edges and add some curving lines for a feathery appearance.
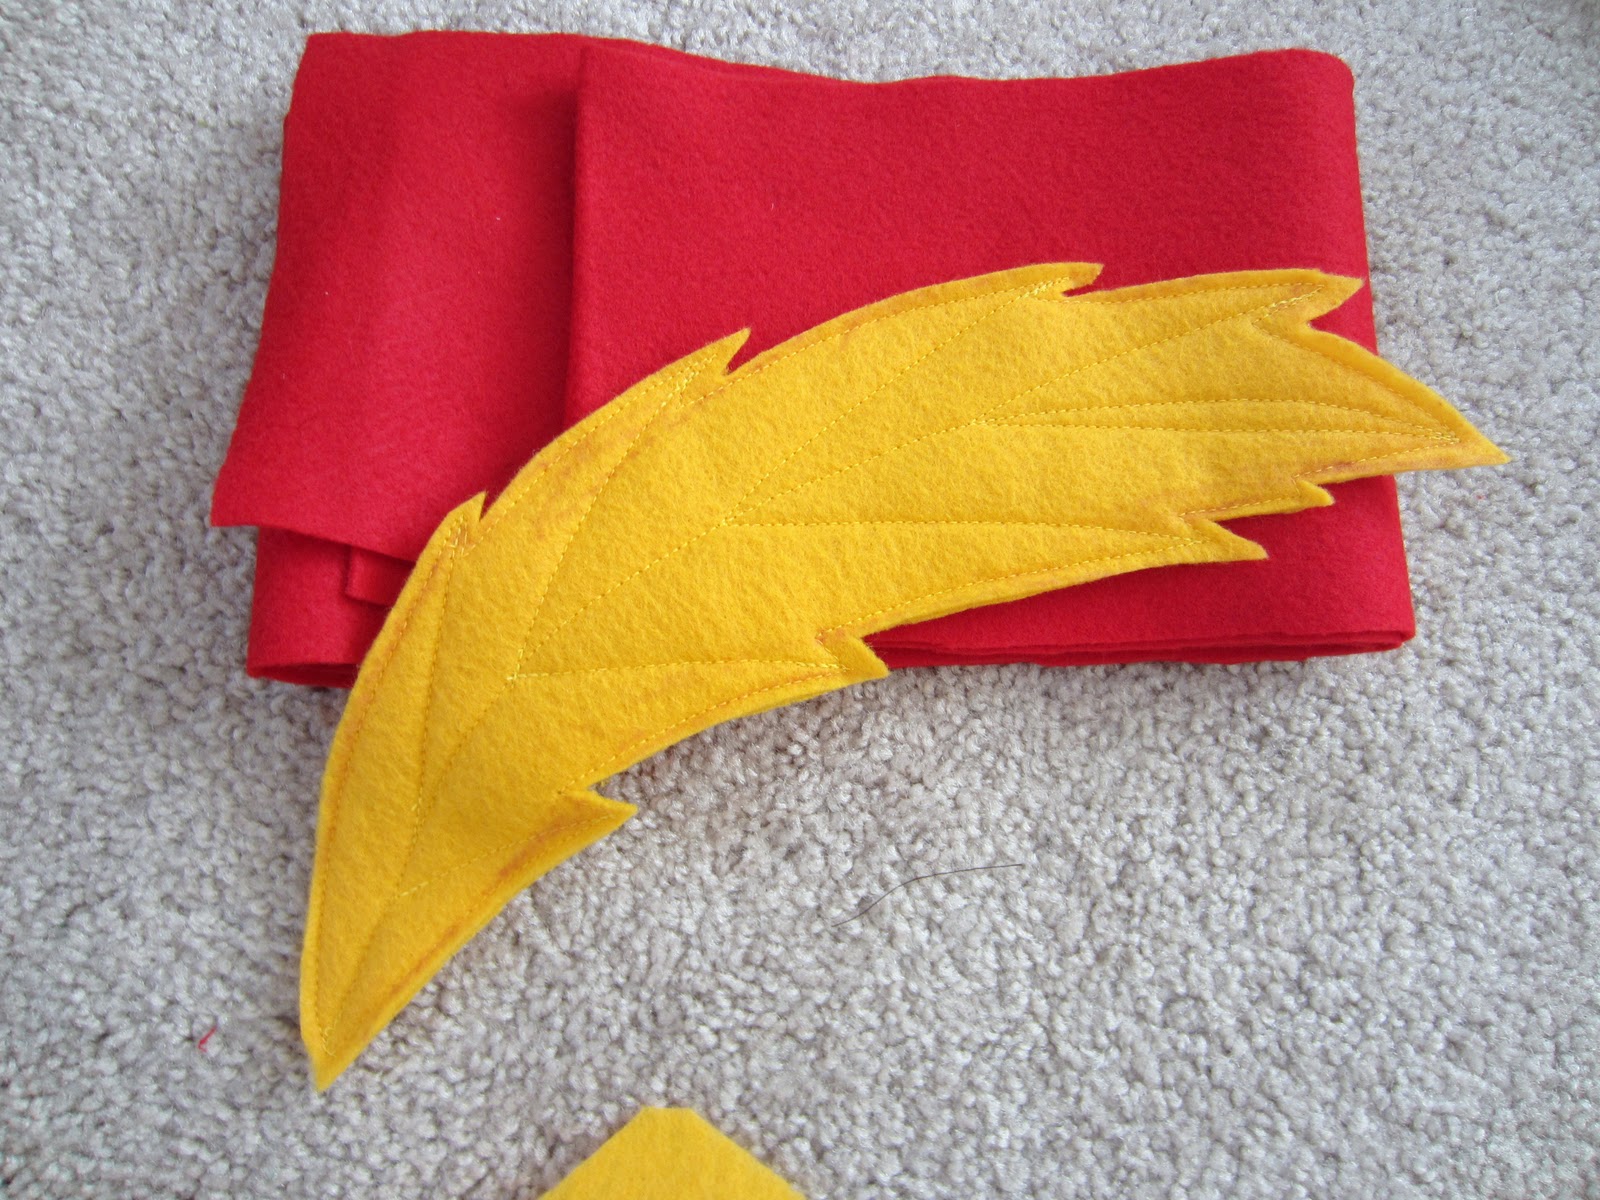

I stuck with two feathers, but a third in orange would have been cute too. Overlap them artistically and place them where you want, secure with a dab or two of hot glue to keep them in place. I also added a fine elastic string to keep it on Baby P's head!!
Shoe Covers


Now you will have a piece that looks like this. Fold the top of the shoe cover down, right sides together (how much you fold over is up to you).


Now pin the shoe right sides together, matching toes and bottom edge, stitch from just insideyour "cuff" to the toe, then down the front to the sole and stop. Be sure to forward and back stitch securely since these will take a bit of a beating. Add an elastic piece underneath the shoe if you think you need it.

The belt was easy peasy. Cut a strip of brown fabric 2.5 inches wide and as long as you need for your child's waist plus some for overlap. Fold the strip in half longways with right sides together, pin, stitch across one end and all the way down the open side. Turn right sides out. Fold in the raw edges of the open end and stitch closed. Edge stitch if you want (this adds a little stability, I sewed around the entire outside and one line down the middle). Take the D-rings and thread one end of the belt through both of them, fold the end over them (only an inch or two) and stitch so that the D-rings are now attached by a small loop to one end of the belt. (you can see this pretty well in the picture) The free end goes through both loops, around one and out through the other. Voila! Belt!

Tights
I referred to Made by Rae's "Baby Tights Tutorial" except I made leggings and added a "baby bum extending panel" like the kind on toddler pajama pants. That is the technical term in case you were wondering. :) This is some bamboo knit I had lying around from a project a couple of years ago. It's a yellowish green color, exactly what I wanted for Peter Pan!!

I had no luck getting this little guy to sit still for a picture. He's on the move and almost ready to go take down Captain Hook!

I think it turned out really cute! This might be the only time I will see my boy's chunky, little legs in tights. Funny and adorable! My favorite parts are the shoe covers and the hat--gotta love pointy toes and gigantic feathers!

I love this! I already made the feather and am working on the hat and belt. I'm doing this for my son who is turning 5, though, so the hat is too small for him. Any idea of your son's head circumference when you made this? Also, I'm kind of confused on turning the hat right side out, then sewing the wrong sides of it and the brim together. Do you have pics of these steps? Thanks so much for posting!
ReplyDeleteI really recommend this to cosplayers as well. Although this is a childs costume, the way you've been doing this makes it able for everyone to actually do it! No matter what size!
ReplyDeleteI'm grateful for this as a 15 year old boy, who'll be cosplaying as Peter Pan soon!
Thanks, this was a great help!
I just finished making this costume, thank you so much for posting a tutorial! It came out perfect and I can't wait to try it on my son!
ReplyDeleteSo glad! It is a fun one, I'd love to see pics!
DeleteI'm so confused on the shoe covers. What part do you trace around? Lay it on its side or ?
ReplyDeleteThanks for asking "JustMe." You lay the shoe on it's side to trace, (straight along the sole, curved up along laces and straight up at the back--plus whatever extra you need for the folds and for a pointed toe.). This is one of those things that is hard to convey in pictures-I suggest doing a sample with scap fabric or even just paper--it helps to wrap your mind around what the finished product will be. Come back with any other questions!!
DeleteHi there! I don't quite understand the cuff part of the shoe covers.
ReplyDeleteHi there! Thanks for commenting! I'll be honest, these shoe covers were a bit of an experiment the first time! I would recommend cutting out the pieces then just folding and pinning (using the pictures above as guidelines) until it makes sense. Each step is outlined above, is there one part, specifically that doesn't work for you?
DeleteThis has been so helpful! Thank you!
ReplyDeleteI don't quite understand the cuffs for the shoe covers. I'm not sure where to see exactly. Do I see the cuffs down and inside out?
I meant "sew" not see.
DeleteThank you for sharing. My grandson will love amazing in his Peter Pan costume.
ReplyDeleteThis was a pretty simple costume, here are the details! Materials: ... ipeterpancostume.blogspot.com
ReplyDeleteThis is a really cool tutorial but I don't quite understand the hat part? Thanks!
ReplyDeleteI am a after school group leader for the YMCA. I am going to be holding a acting club and have decided to teach the children "I won't grow up". Even though this is a one time thing, I do want them to have some kind of costumes. I don't have a lot of money, so your costumes are going to really come in handy. Thank you!
ReplyDeleteJe viens de découvrir votre blog, c'est le costume que je recherche pour mon petit bonhomme, bon c'est pas en français , mais je pense pouvoir m'en sortir quand même, les photos vont m'aider. Merci pour le partage.
ReplyDelete
ReplyDeletePeople who are blessed with a baby girl recently should buy newborn girl coming home outfit. For baby boys, you can consider baby boy home outfit through the online platform for decreasing the time-consumption, efforts, and the travel cost.